Sunday, June 16, 2013

Glam Cheetah Nails!

Heyyyylo!

Today I have some glam cheetah print nails to show you! They were modeled after my bathing suit which contains blue, green, and purple under black zebra print. I originally planned on trying to sponge all of the colors on and stamp zebra print on top, but because of time limitations I settled for cheetah spots using those colors. I added the silver to glam it up a little bit!


I used OPI Yoga-ta Get This Blue (blue), Sally Hansen Complete Salon Manicure Purple Pulse (purple), Pure Ice Twisted (green), Rimmel 60 Seconds Precious Metal (silver), and Sally Hansen Hard as Nails Black Heart (black).


My base coat was two coats of Nail Tek II with no base color. The above three photos are before topcoat. The below photos are after one coat of Seche Vite.


I really enjoyed wearing this design and got compliments on it, as well!

That's all for now! Thanks for looking! :)

Thursday, June 13, 2013

Hard Candy Gummy Green

Hola!

Just a little swatchin' today!

I have my first Hard Candy purchase ever! I usually don't shop at WalMart for nail polish, so I had no clue Hard Candy was sold there! I found this baby, and man I struck gold. Whoop!

Enter Hard Candy Gummy Green.


Gummy Green contains small black and silver glitters in a minty green base. The pigment in the base is kind of sheer, so my swatch is three coats. The general formula of this was fantastic. It wasn't sticky or goopy or hard to apply at all.


I love this so much. I love me a good glitter in a colored base.


This is worth $4. I'll be going back to WalMart for more in the future! :)

That's all for now. Thanks for looking :)

Wednesday, June 12, 2013

Teardrop Flower Nail Art

Hiiiii!

I did a little accent nail art the other day based on my cell phone case. It's purple with teardrops and flowers etched on the back. Here's a photo of it:

I began with a base of Sally Hansen Complete Salon Manicure I Lilac You, and the design was done using Sally Hansen Complete Salon Manicure Purple Pulse and a medium length striper brush and a small dotting tool.


Then I decided to add some glitter to the non-accent nails. I used Sally Hansen HD Color DVD. I used two coats of DVD.


Then I decided this design would look better matte, so I applied one coat of NYC Matte Me Crazy.


So what do you think? Matte or glossy? I'm loving them both, but I like the matte better.

Sorry for the pic spam! I hope you like this design as much as I do!

Thanks for looking! :)

Tuesday, June 11, 2013

Different Dimension Light it Up Blue

Hellooooo!

Today I have Different Dimension Light it Up Blue glow in the dark nail polish to show you!

First I have Light it Up Blue alone, with no base color underneath.


My swatch is two coats. The glitter distributed evenly over the nail, but the formula was very thick and kind of sticky.


Below you can see two coats of Light it Up Blue over two coats of Finger Paints Tiffany Imposter.


Unfortunately, I don't have any "in the dark" photos because I just couldn't get the right setting on my camera. If you're interested in seeing glow photos, head on over to Chalkboard Nails. You can see beautiful swatches of not only this polish, but other Different Dimension polishes.


I really love this polish, even if it is thick and sticky. The glow in the dark effect is really cool and the glitter is really pretty in the light, too.

If you'd like to purchase this polish, it can also be found on Llarowe's website for $12.00. Last I checked, it's sold out, but it's worth the wait. Different Dimension also has an Etsy shop.

That's it for today! Thanks for stopping by! :)

Monday, June 10, 2013

Color Club Color Block

Hi again!

Today I have a color blocking manicure I wore a few days ago using four Color Club polishes I bought off Llarowe's website.


This is what I began with: my pinky and thumb have Color Club Lava Lamp, my ring finger is wearing Color Club Warhol, the lime green on my middle nail is Color Club Feelin' Groovy, and my index finger has Color Club Psychedelic Scene.


My camera just couldn't handle the neon-ness of all of these colors, so I understand if you need to shield your eyes from the brightness :P

I wasn't a total fan of this manicure, but I love all of the neon colors, and I'm really glad I got them!

That's all for now! Thanks for looking!

Sunday, June 9, 2013

Revlon Electric + Chevrons

Hi there!

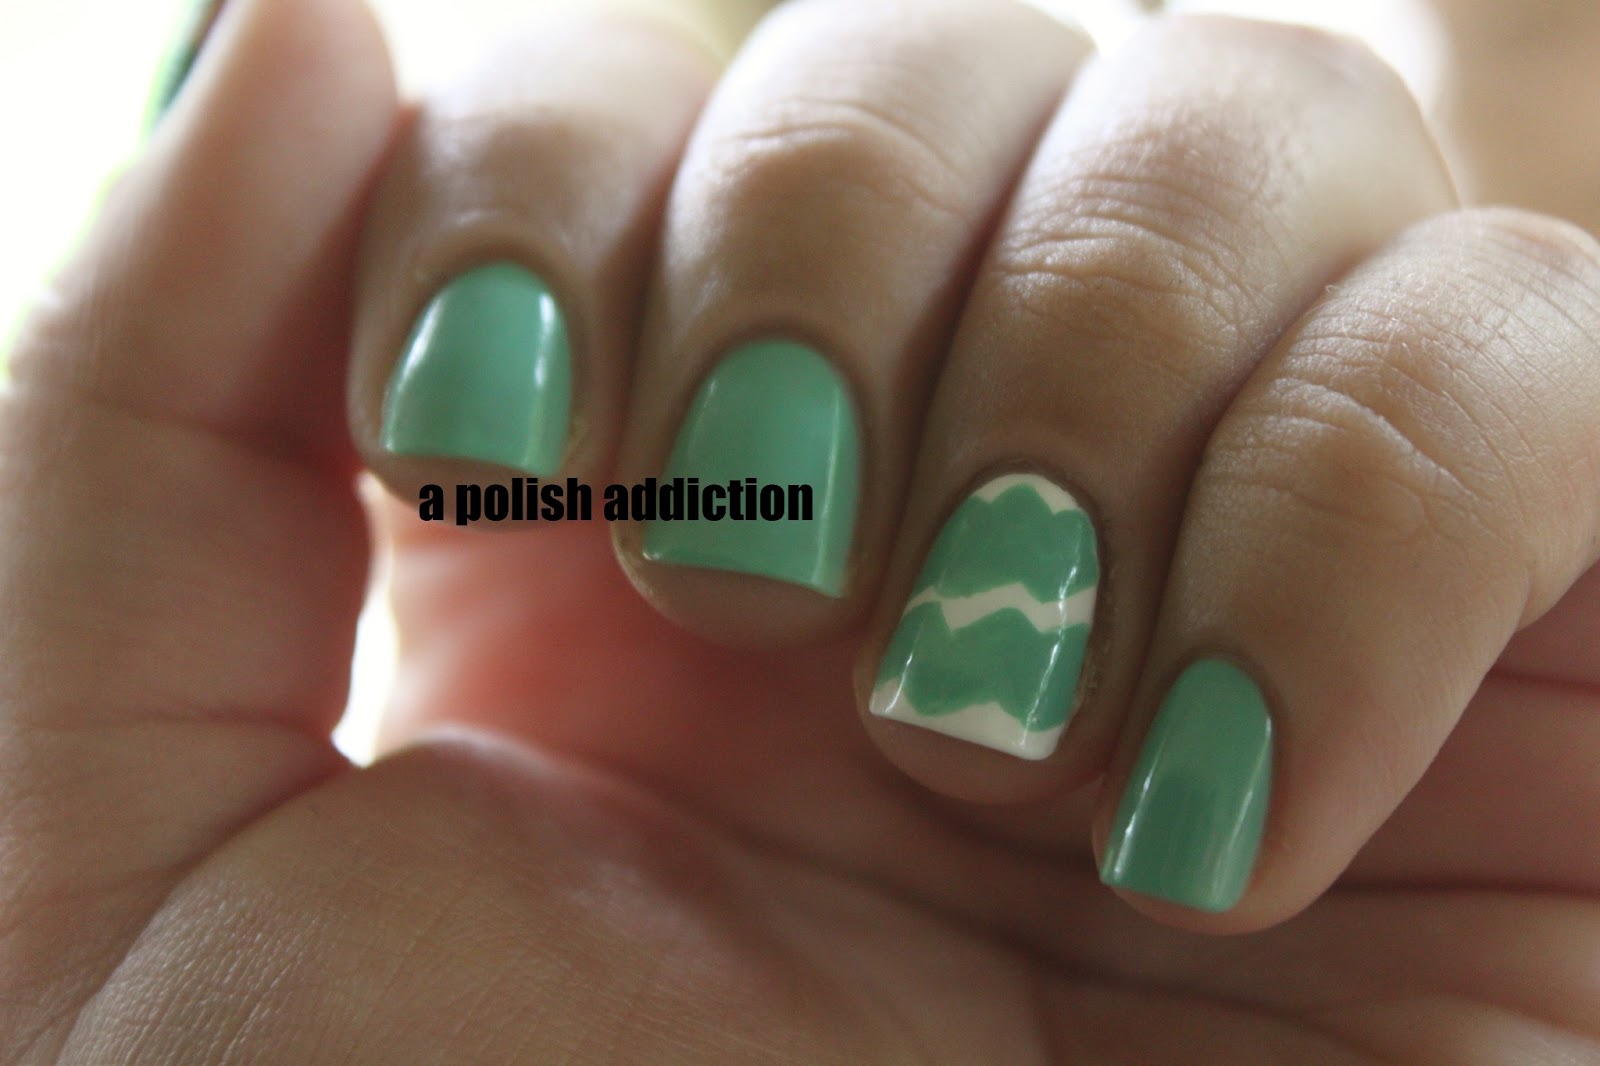
Today I have Revlon Electric to show you, as well as some chevrons I attempted over Sinful Colors Snow Me White.


Please pay no attention to the poor condition of my cuticles :x I have Pure(TM) Nail Oil coming in the mail, which I hope to review for you!

I'm showing Revlon Electric here at three thin coats, and Sinful Colors Snow Me White at two coats. The chevrons were (badly) freehanded using a small striping brush in Electric.


At least my thumb looks good! Haha. I also have striping tape coming in the mail from Born Pretty Store and I also want to get some zig-zag scrapbooking scissors for cleaner lines and chevrons.


I'm pretty happy with the way this came out because, after all, it was my first time trying freehand chevrons, or chevrons at all.

I just want to note that Sinful Colors Snow Me White is a really nice opaque, almost one-coater white, BUT the brush made deep scratch marks in the wet polish, exposing the nail beneath. That's the only reason I had to use two coats to achieve an even color. I just have to remember to use a light touch when applying this.

That's all for today! Thanks for looking! :)

Friday, June 7, 2013

Nail Tek II + CND Solar Oil Reviews

Hello!

As I'm waiting for new polishes to arrive in the mail, I've been using Nail Tek II, which is a nail strengthener similar to OPI Nail Envy. There are a few different options when choosing a Nail Tek strengthener formula. Visit this website to see the full range of strengtheners Nail Tek offers.

In my case, as seen in the title, I chose formula II, which is an intensive therapy formula for soft, peeling nails. Usually, my nails grow to a certain length and then break/peel near the sidewall close to the end of the nail bed. I normally can't keep a square nail shape when my nails are longer because any snagging of free edge corners will result in breakages.

I don't have a "before" picture because I really wasn't planning on reviewing this product, but my results have been great so far, so I decided to post one.


The photo above shows my nails as of yesterday (6/6/13). I've been using Nail Tek for about two weeks, and my nails are noticeably stronger and even a little thicker. They're bendable under pressure, but aren't too bendy. I think this is the longest my nails have been in a long while!


I'm also using CND Solar Oil cuticle oil in addition to Nail Tek. I rubbed some on my cuticles shortly before taking these photos, and you can see my nails aren't super greasy or shiny from the oil. Solar Oil comes in a bottle similar to bottles nail polish comes in with a brush applicator.

The oil isn't really greasy and soaks in really nicely-- not too quickly or too slowly. I use Solar Oil multiple times a day, and it really helps soften my cuticles and dry skin surrounding my nails.

I definitely recommend these products to anyone who's tried OPI Nail Envy and got less than perfect results and/or has dry cuticles.

I also recommend this......


Just kidding! But seriously, isn't she the cutest? Just look at her little toes! That's my Teddy Bear hamster, Peaches :)

That's all for today! Thanks for reading!